

What are the steps in CNC Milling?
Introduction
CNC milling plays a pivotal role in modern manufacturing, enabling the production of intricate parts with high precision. To fully understand this process, let’s delve into the sequential steps involved. From the initial design phase to the final product, each stage contributes uniquely to the outcome. So, let’s start exploring these steps one by one.
Step 1: Design and CAD Modeling
First and foremost, the CNC milling journey commences with design. Engineers utilize Computer-Aided Design (CAD) software, such as SolidWorks or AutoCAD. They transform ideas into detailed 3D models. For instance, when creating a component for a new car engine, the CAD model precisely defines its shape, dimensions, and internal features. This model serves as the blueprint for the entire process.
Step 2: CAM Programming
Subsequently, after finalizing the CAD model, we move on to Computer-Aided Manufacturing (CAM) programming. CAM software converts the 3D design into a toolpath. Programmers then select appropriate cutting tools based on the material. For aluminum parts, an end mill might be the choice, while carbide tools suit harder metals. Additionally, they set parameters like cutting speed and feed rate. As a result, a G-code program emerges, which the CNC machine will follow.
Step 3: Material Selection
Next, material selection becomes crucial. Depending on the part’s application, materials vary widely. In aerospace, lightweight yet strong materials like titanium alloys are preferred. For consumer electronics, aluminum often suffices. Cost, durability, and functionality all influence this decision.
Step 4: Material Preparation
Following material selection, preparation begins. Workers cut the material to size and shape. They ensure it’s flat and free of defects. Metal materials might undergo heat treatment at this stage. Then, they mount the workpiece securely on the machine’s worktable using fixtures such as vices or clamps.
Step 5: Tool Selection and Setup
Subsequently, choosing the right cutting tools is essential. Different tools serve different purposes: ball nose mills for curves, face mills for flat surfaces. Operators load these tools into the machine’s tool changer or spindle. They also input tool details into the control system for accurate operation.
Step 6: Machine Setup and Calibration
Before machining, setting up and calibrating the CNC mill is a must. First, operators zero the machine axes to establish a reference. Then, they adjust spindle speed and feed rate according to the program. They also check the coolant system. Calibration ensures the machine moves precisely as programmed.
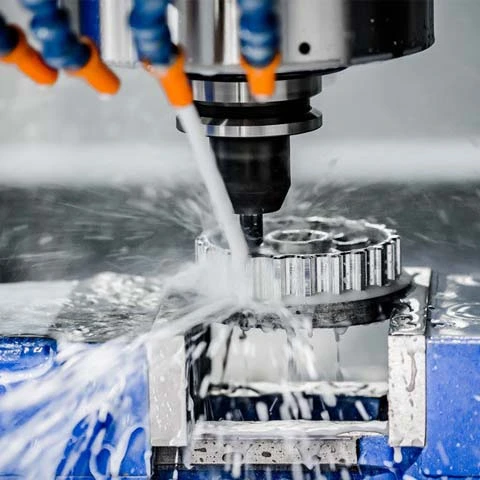
Step 7: Machining Execution
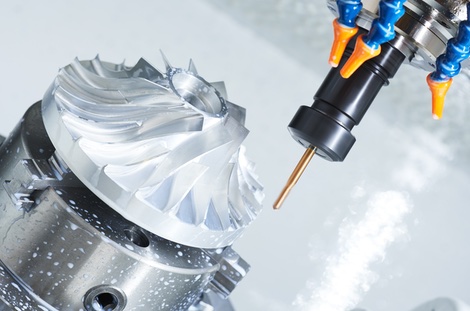
Now, with all preparations complete, machining begins. Operators start the G-code program, and the machine takes over. The spindle rotates the cutting tool while the workpiece moves as per the toolpath. The tool removes material layer by layer. During this process, the machine monitors parameters like cutting forces. Some machines can even adjust settings in real-time. As shown in the image below, the machining process brings the part to life.
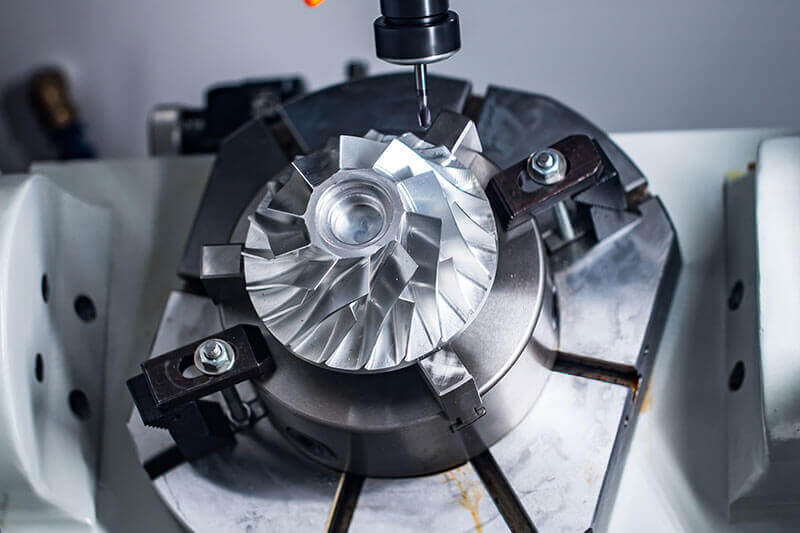
Step 8: In-Process Inspection
To guarantee accuracy, in-process inspections occur. Operators use tools like calipers and CMMs to check dimensions and surface finishes. If issues arise, they pause the process. They may adjust the toolpath, settings, or workpiece setup. Sometimes, they even modify the CAM program.
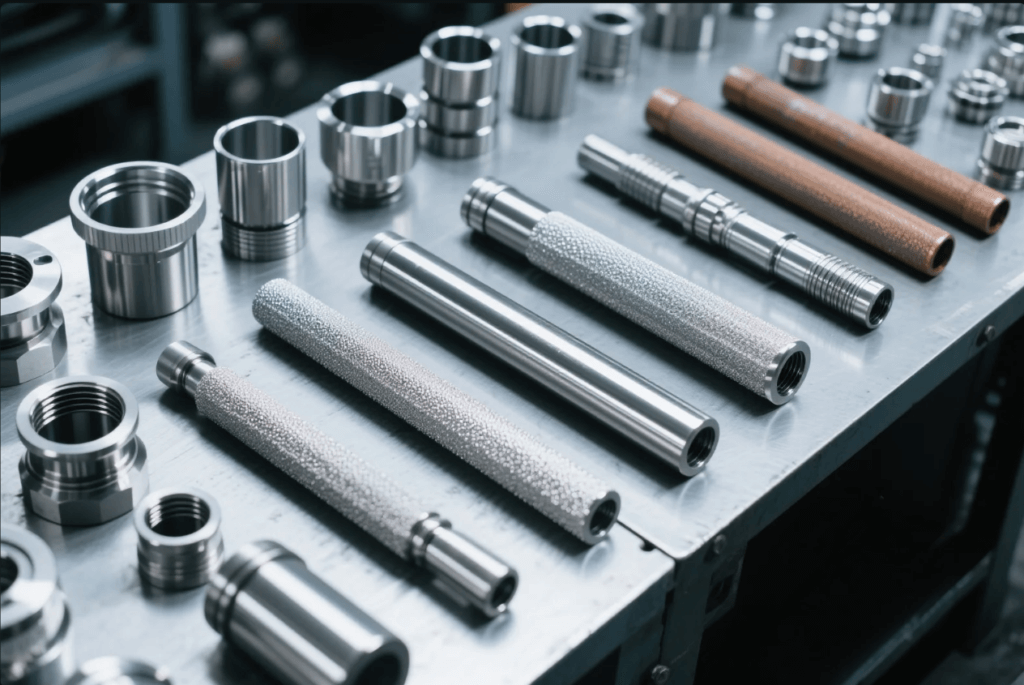
Step 9: Finishing Operations
After machining, finishing operations enhance the part. Deburring removes sharp edges. Polishing improves the surface finish. Heat treatment boosts metal properties. Surface coatings like anodizing or plating add protection or aesthetics.
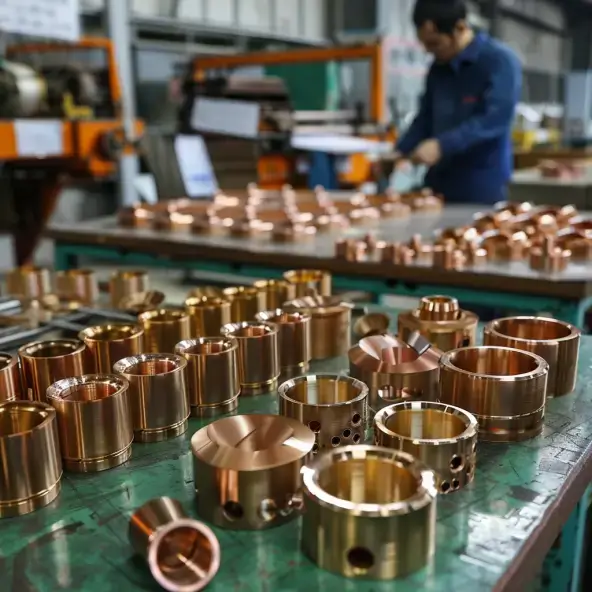
Step 10: Final Inspection and Quality Control
Finally, a comprehensive final inspection ensures quality. Technicians verify dimensions, surface finish, and geometric tolerances. They also test functional aspects if applicable. Only parts meeting all standards pass and move on to shipment or assembly. The image below illustrates a quality control check on a milled part.
Conclusion
In conclusion, CNC milling involves a series of well-defined steps. From design to quality control, each step is vital. By following these steps meticulously, manufacturers produce high-precision parts for various industries. Understanding these steps is key to mastering the art of CNC milling.